

Route search and AI bots to EdgeComet from your CDN
EdgeComet serves search engines and AI bots from inside your request path. One routing rule at your CDN or proxy sends crawler requests to EdgeComet and every other request to your site as before, and one firewall rule lets EdgeComet's own requests through. Prerendering and dynamic rendering tools use the same routing pattern.
On Cloudflare, EdgeComet installs both rules for you in about a minute. On other platforms, you or your developers add the rule from a guide in the dashboard or from these pages.
Human visitors never pass through EdgeComet. Their pages, cookies and sessions stay as they are.
How routing works
- Your CDN checks each request. Page requests from crawler user agents, such as Googlebot, GPTBot and ChatGPT-User, go to EdgeComet. Images, scripts, styles,
robots.txtand sitemaps stay on your origin. - EdgeComet answers from its cache. On a miss, it fetches the page from your origin, renders it in headless Chrome if your site uses rendering, stores it and serves it.
- When EdgeComet cannot answer, the rule sends the bot to your origin, which serves your regular page.
For the exact rules, headers and fallback, see How EdgeComet routes bot traffic. For what happens inside EdgeComet, see How EdgeComet serves search and AI bots.
Choose your platform
| Your platform | How EdgeComet connects | Dashboard guide | Page |
|---|---|---|---|
| Cloudflare | Automatic install of a Worker and a firewall rule | Connect Cloudflare | Cloudflare |
| Cloudflare, with a Worker you already run | EdgeComet's routing added to your Worker | Legacy: manual worker install guide | Existing Cloudflare Worker |
| Fastly | VCL snippets | Fastly VCL | Fastly |
| AWS CloudFront | Two Lambda@Edge functions | AWS Lambda@Edge | CloudFront |
| Akamai | A Property Manager rule | None | Akamai |
| Nginx | map blocks and a named location | Nginx | Nginx |
| Apache | mod_rewrite and mod_proxy | None | Apache |
| HAProxy | ACLs and a backend | None | HAProxy |
| IIS | A URL Rewrite rule proxied through ARR | None | IIS |
| Shopify | Your own Cloudflare zone in front of the store, then the Cloudflare install | Connect Cloudflare | Shopify |
| Salesforce Commerce Cloud | Your own Cloudflare zone in front of the storefront, then the Cloudflare install | Connect Cloudflare | Salesforce Commerce Cloud |
| Any other CDN or proxy | A rule you write from the routing rules | Generic Integration | Other CDNs and proxies |
If your site runs behind two layers, such as a CDN in front of Nginx, add the rule at the outer layer, the one bots connect to.
Before you start
- A website in EdgeComet. See Add your first website.
- Access to your CDN or proxy configuration, or the person who manages it. To give your developers the technical details for a review, send EdgeComet for developers.
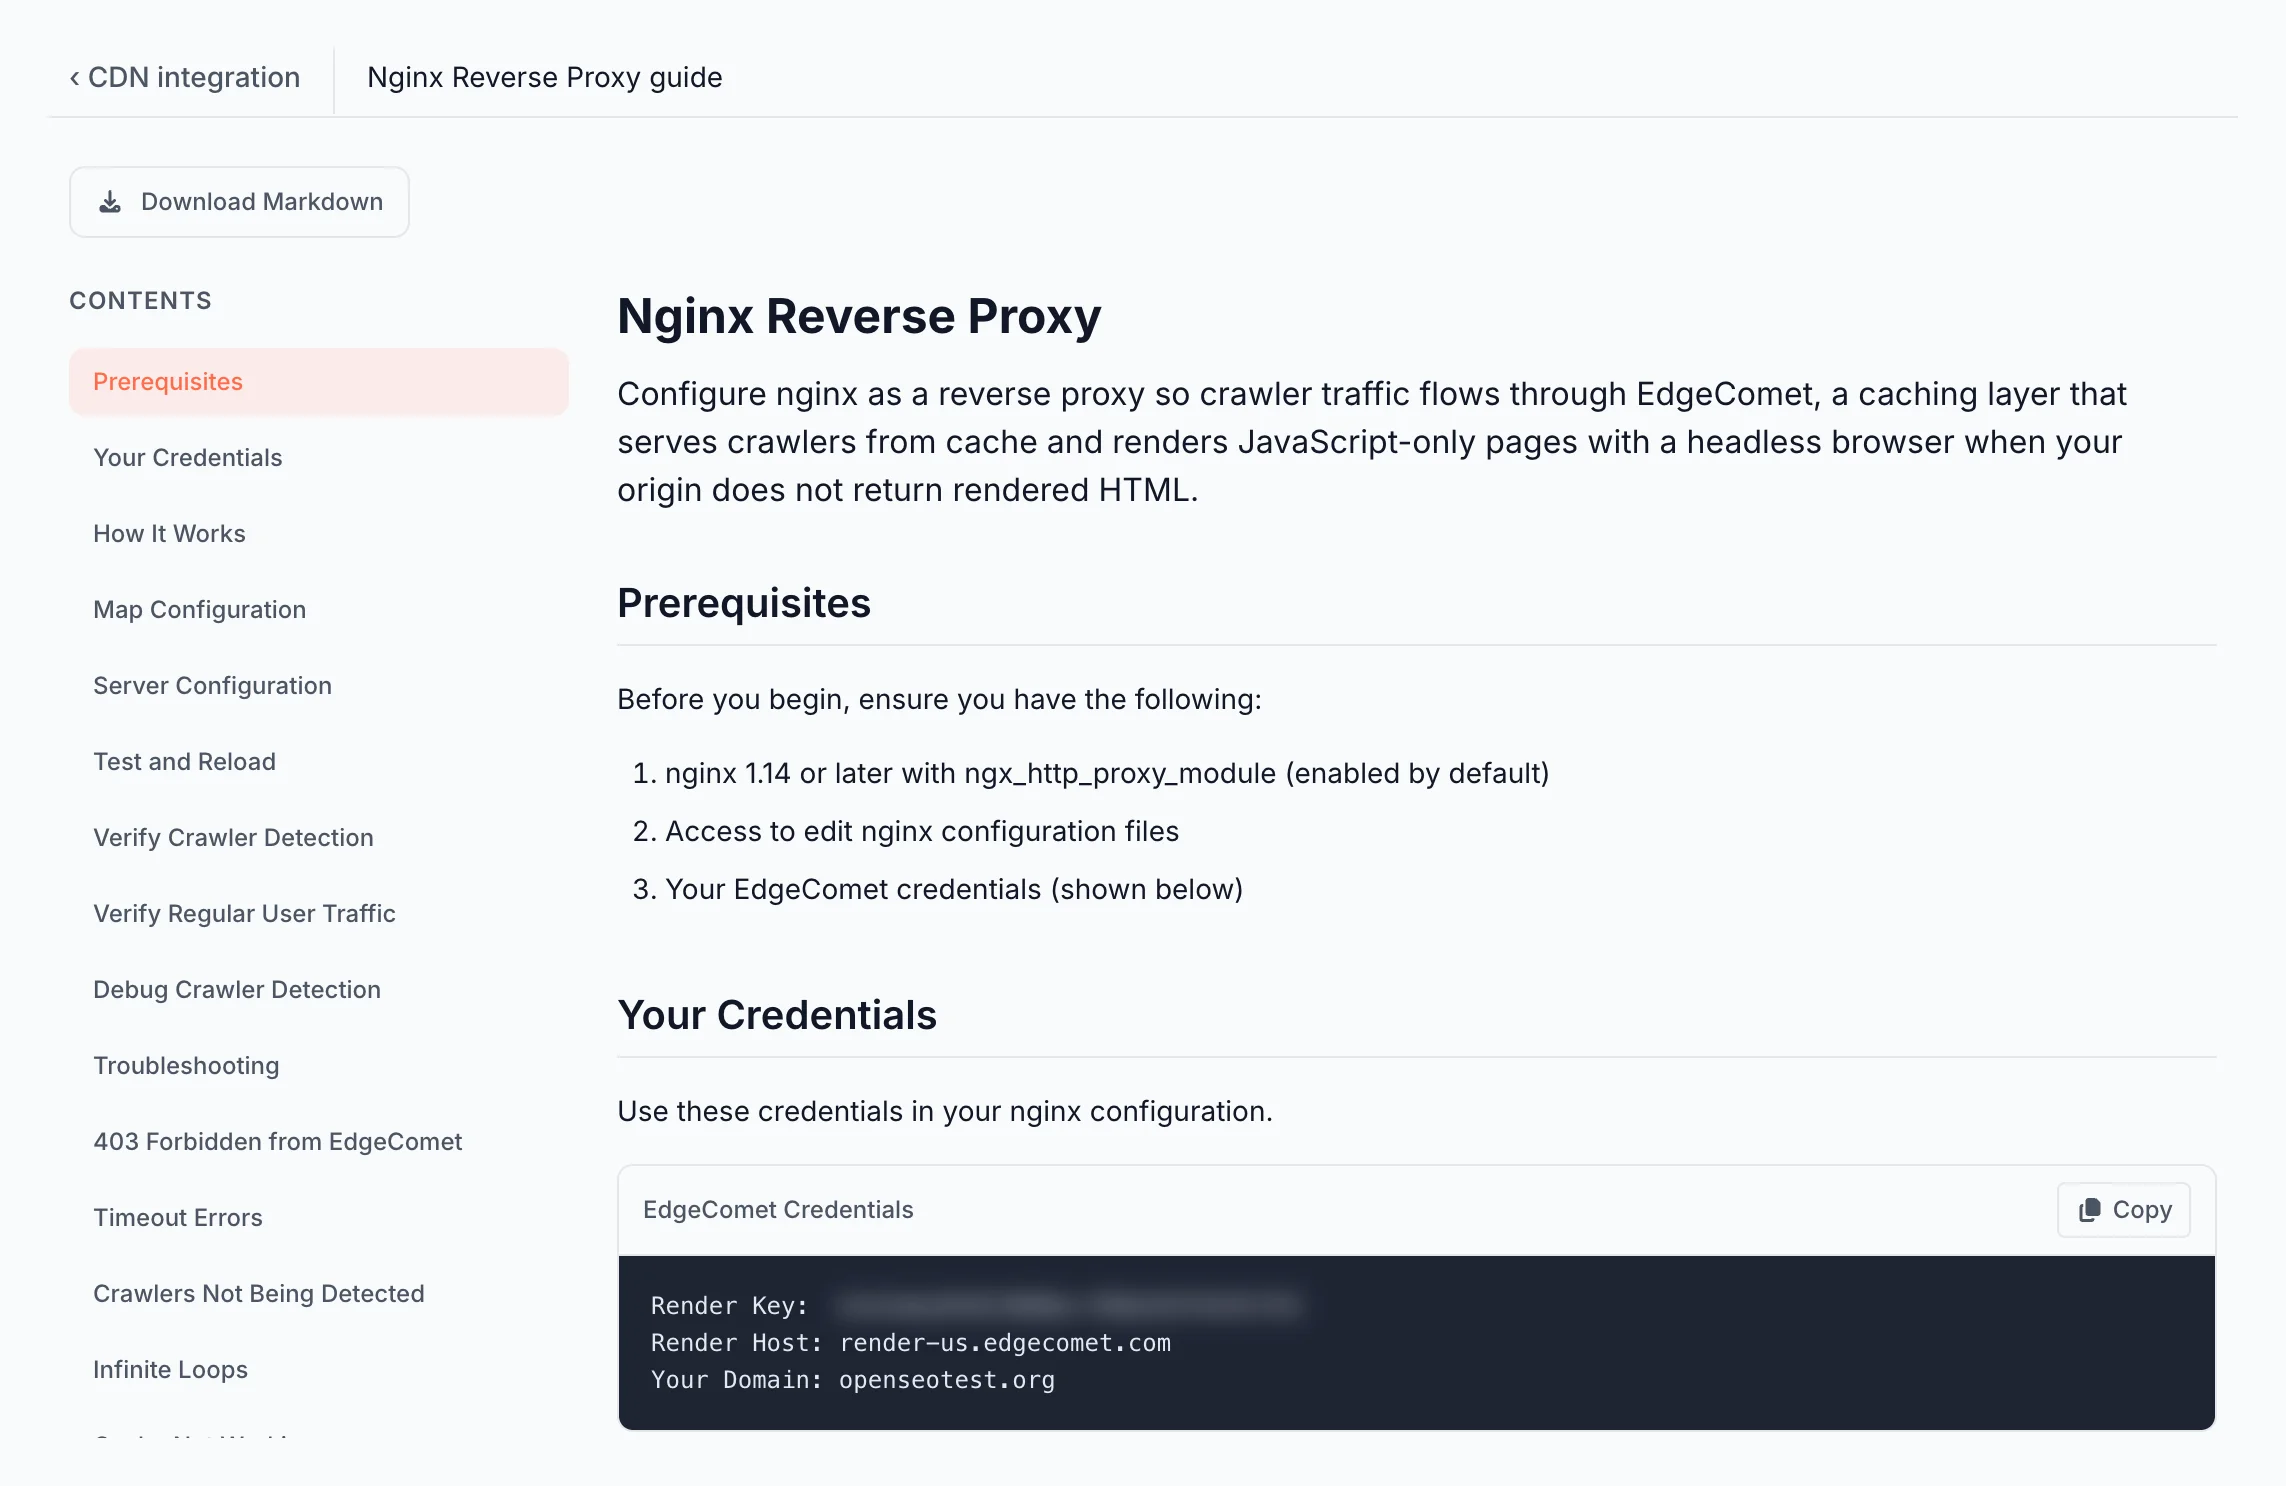
- Your Render Key and Render Host. Every guide in the dashboard shows them, together with your domain. For a platform with no guide in the dashboard, open Generic Integration.
Set up from the dashboard
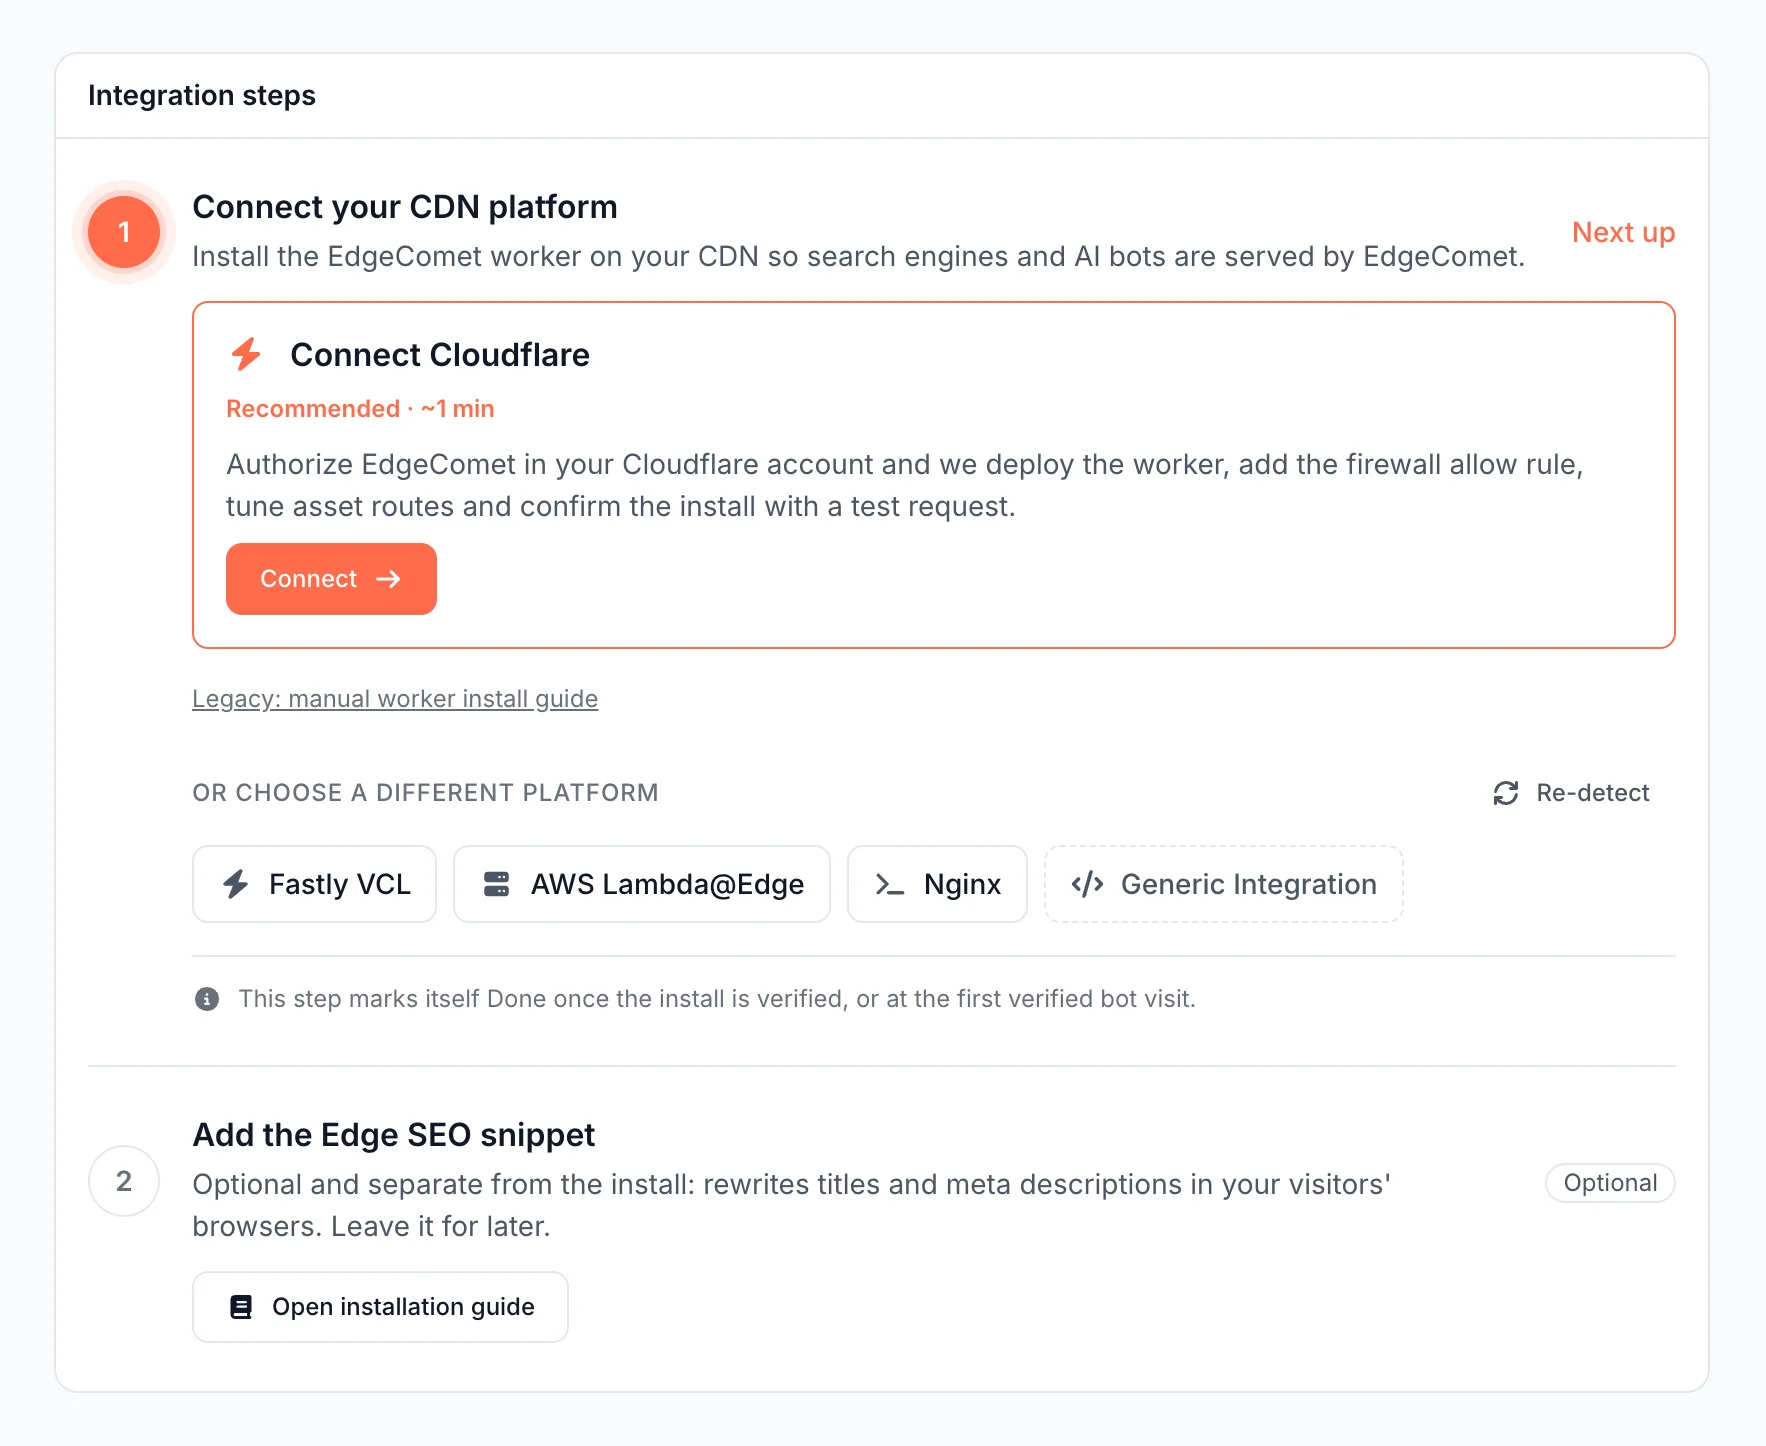
- Open Configuration > Connections > CDN integration, or click Start setup on the website's Getting started page.
- Click Auto-detect. EdgeComet checks your site's response headers and suggests a platform. Click Re-detect to run it again, or pick another platform.
- On Cloudflare, follow Install EdgeComet on Cloudflare automatically. On other platforms, click Open setup guide.
- The guide is filled in with your render key, render host and domain. Click Download Markdown to send it to whoever manages your CDN.
- Add the routing rule and the firewall allow rule from the guide, or from the page for your platform.
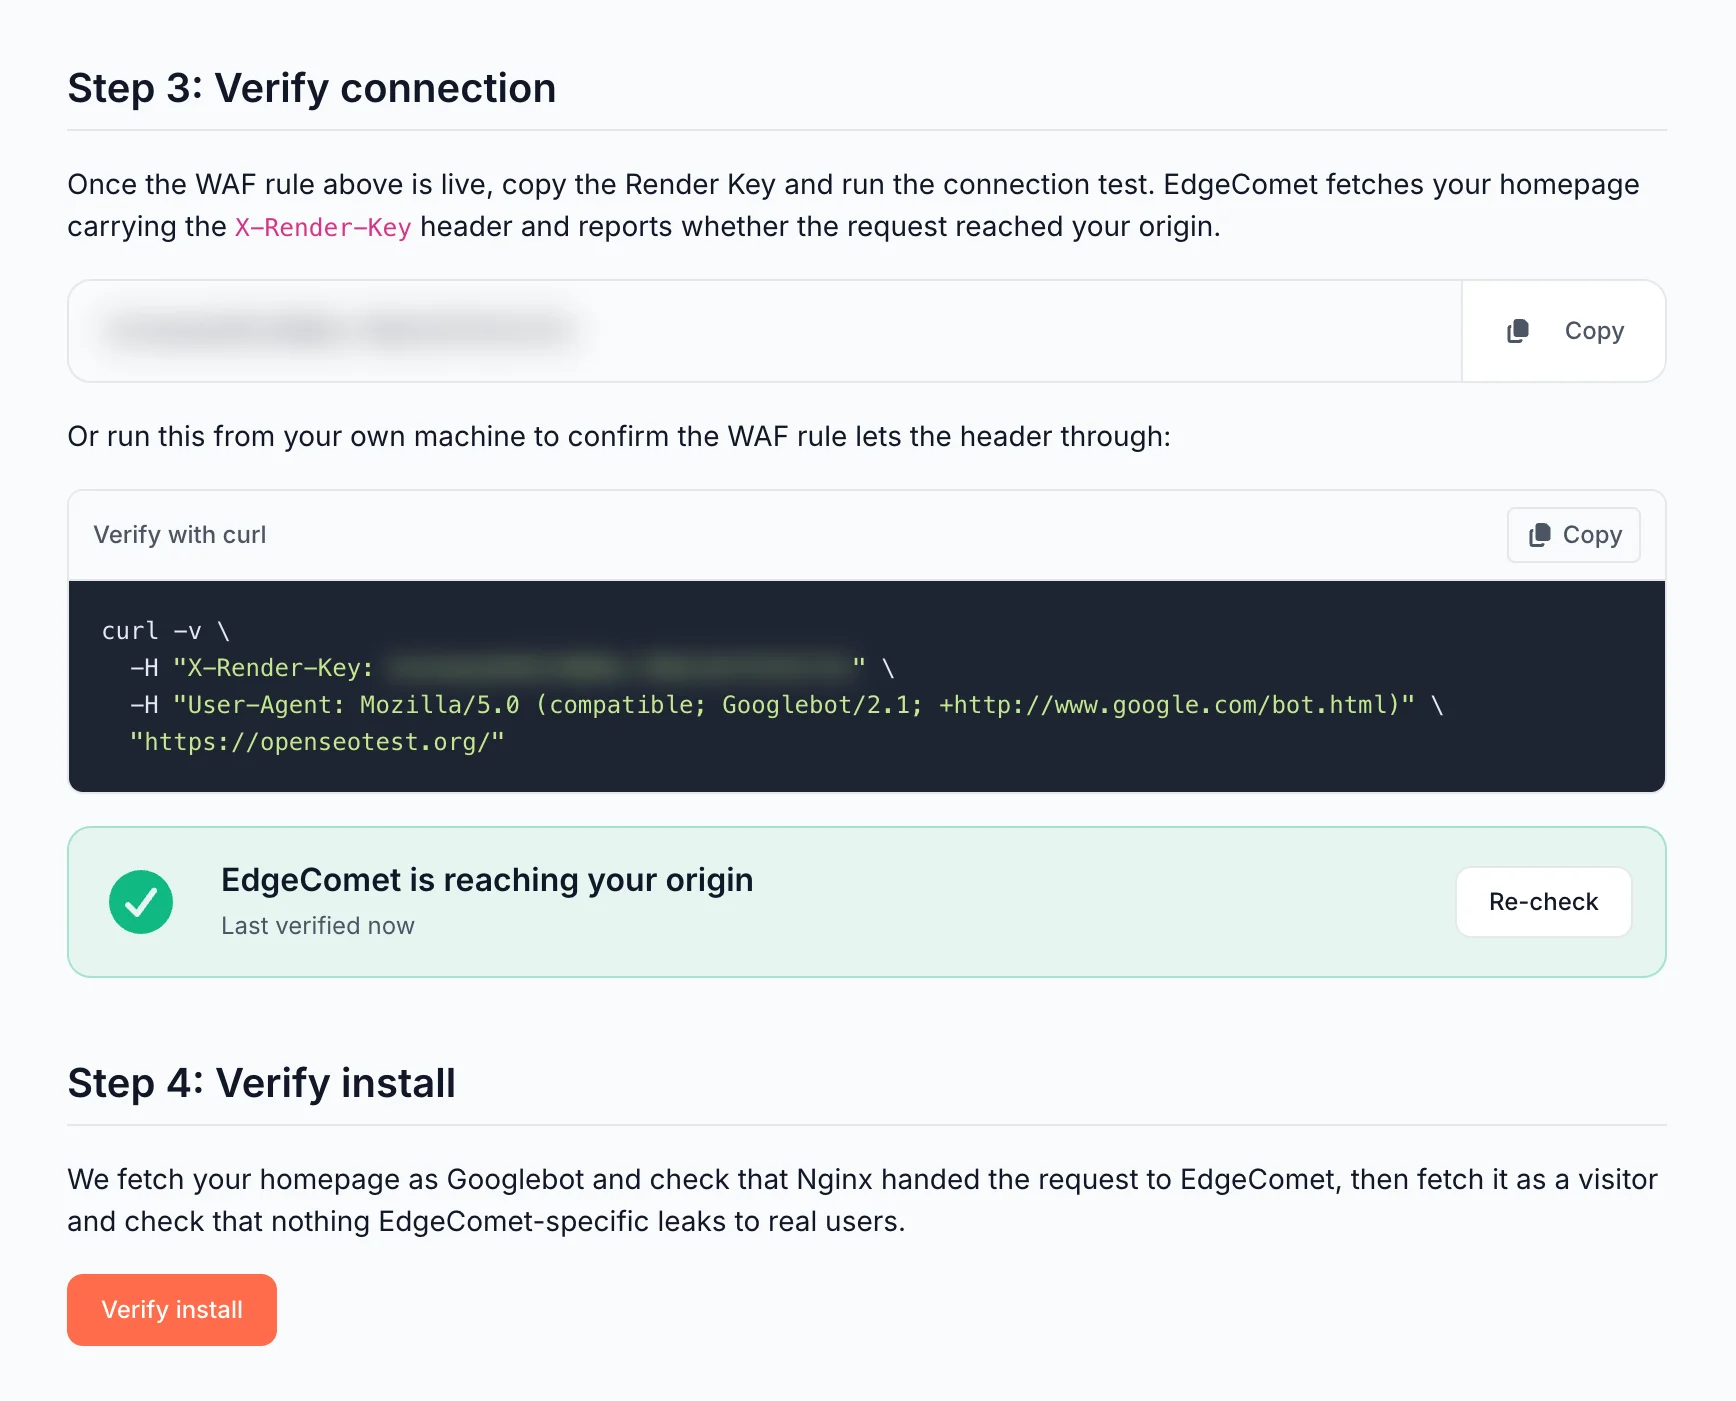
- Click Test connection under Step 3: Verify connection. EdgeComet fetches your homepage with your render key and passes on HTTP 200, which confirms that your firewall lets it through.
- Click Verify install under Step 4: Verify install. EdgeComet requests your homepage as Googlebot and checks that EdgeComet answered. Then it requests it as a browser and checks that no EdgeComet headers reach your visitors.
Let EdgeComet through your firewall
EdgeComet fetches your pages through your CDN like any other client, and every page request carries your render key in X-Render-Key. Allow requests whose X-Render-Key equals your key through your WAF, rate limits and bot protection. EdgeComet publishes no IP list.
The Cloudflare install adds this rule for you. For every other product, see Let EdgeComet through your firewall.
The Edge SEO snippet is a separate step
Step 2 on the CDN integration page, Add the Edge SEO snippet, is optional and unrelated to routing. Bots get Edge SEO changes through the routing rule.
The snippet applies the same changes in visitors' browsers. See Show Edge SEO changes to visitors.
What you should see
- Connect your CDN platform shows Done with the platform and install date. It marks itself done once Verify install passes, or at the first visit from a verified bot.
- Getting started reads EdgeComet is installed on your domain, then waits for the first verified bot visit, usually within 24 hours.
Next, check that bots reach EdgeComet.
If it does not work
For Cloudflare install messages, see Cloudflare: If it does not work.
"Connection test failed. EdgeComet could not reach your site."
Your firewall or bot protection blocked EdgeComet's request, or your homepage did not answer with HTTP 200. Check the allow rule for X-Render-Key, then click Test connection again. See Let EdgeComet through your firewall.
Verify install says the CDN "answered the bot request itself"
The request as Googlebot never reached EdgeComet, or it fell back to your origin. Check that the routing rule is deployed and matches crawler user agents, and that the render key in it is correct.
A wrong key gets a 401, which most setups answer from your origin. On CloudFront, bots get the 401 itself. See What EdgeComet answers.
"Real visitors are receiving EdgeComet headers"
The routing rule sends more than bot traffic to EdgeComet. Check its user agent condition, which must match only the crawler patterns.
Related
- How EdgeComet routes bot traffic
- Let EdgeComet through your firewall
- Check that search and AI bots reach EdgeComet
- Self-hosted engine integrations, which cover the open-source engine you run yourself